**Edit** I never thought this post would get so much attention after I shared in one of my social media sewing groups! I’m so happy to see comments from all of you who have tried out sewing with minky using my tips! Please enjoy and stay creative! -J
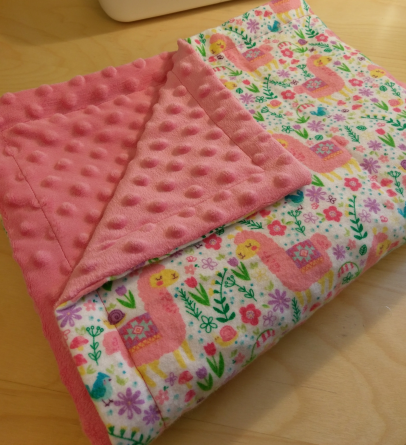
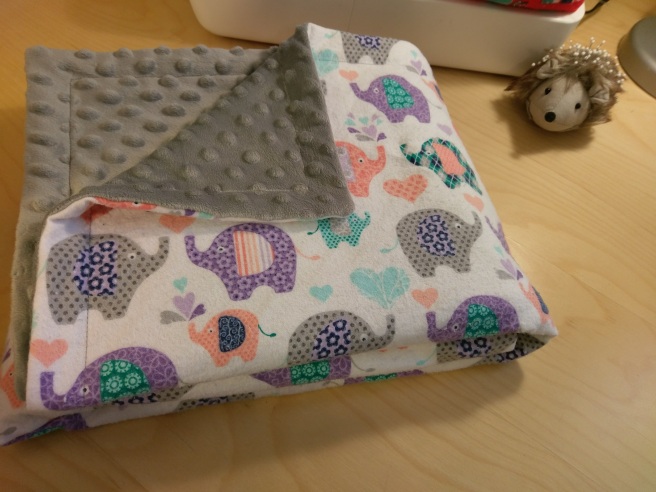
Since I’ve been in school and training now for…. way too many years, my friends have all started having kids. So what do I do? Learn to sew baby blankets, of course! I fell in love with the fun flannel prints and the ultra soft and whimsical “minky dot” fabric at JoAnn, so that’s where it all started. My methods have gotten better over the years, and when I recently posted a photo of a finished blanket headed to my sister-in-law and my first niece overseas, I got SO many questions about how to work with minky and how I made my blanket. So, with the next blanket, headed to a dear friend in Seattle, I decided to take photos of every step and document my methods so anyone can give it a whirl.
A note before starting: I choose to leave the two layers of my blankets loose with only a topstitch around the edge. I do not use batting between the layers or quilt them. My friends seem to like them the way I make them (my cousin’s son has carried his everywhere he goes for a solid 4 years now), and I’m not really sure that minky would take quilting very well because of how difficult it is to work with, so this is the method I stick to. Keep in mind, this is only what I have found works best for me. As always, your mileage may vary.
Enjoy!
Off camera- pre-wash and shrink your fabric. I tumble dry on low-medium to make sure the flannel shrinks up if it’s going to. If there are creases in the flannel, you can iron if you need to, but DO NOT IRON MINKY!!! It will melt and the dots will go away! Next, I square the flannel up and trim it to the size I want (here I did roughly 40″ x 40″, the “receiving” sized baby blanket) and finish the edges with my serger to make it more stable to work with. Next, the minky:

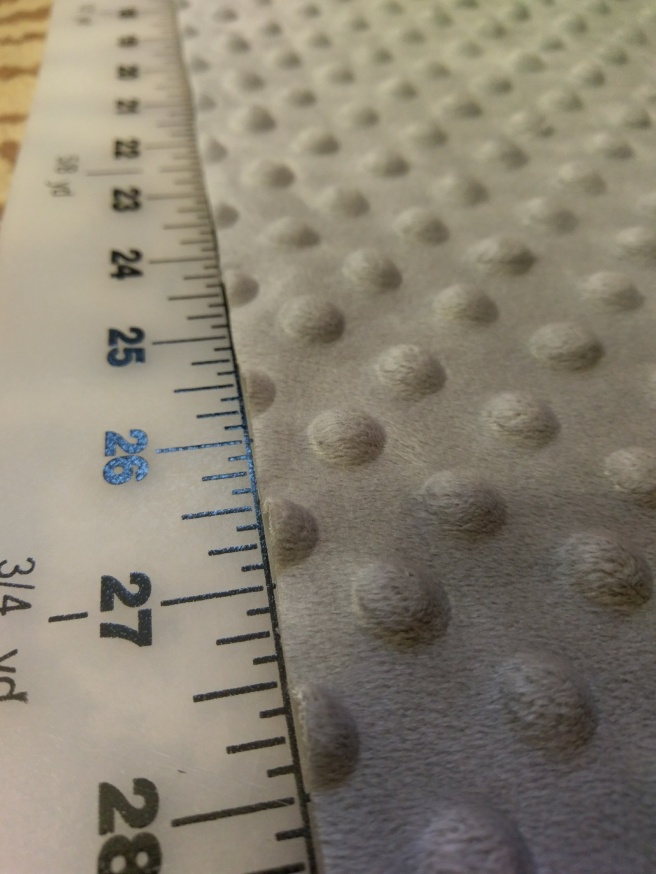
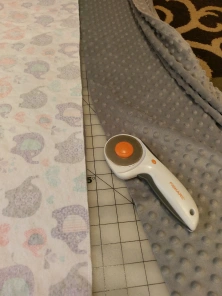
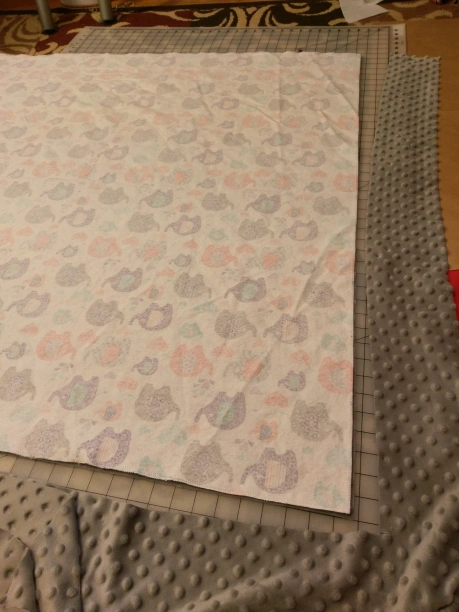
My secret weapon in the fight with minky fabric is a really really big cutting mat and a rotary cutter. It’s about 60 x 40″ on the floor of my sewing room. First, lay the minky out right side up on the mat and gently tug and smooth until there are no wrinkles, lining up the dots as best you can with a landmark like the bottom line on the mat. Trim the edge using the dots and the mat as a guide. If using scissors and no mat, use the dots as a guide and try to introduce as few wrinkles as possible while cutting, and re-adjust after each edge to keep it straight. Either way, it’s pretty much impossible to get it square without laying it out completely flat.
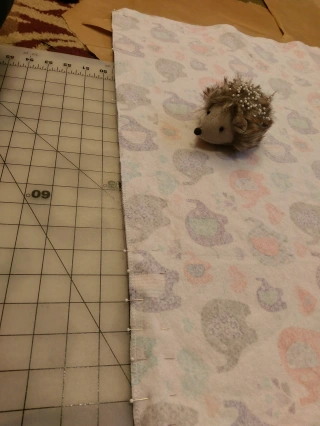
Next, lay your flannel on top, right side down (right sides together) and GENTLY make sure it is flat with no wrinkles, and without stretching or making wrinkles in the minky. Halfway through this process below- still a few wrinkles to smooth at the top. 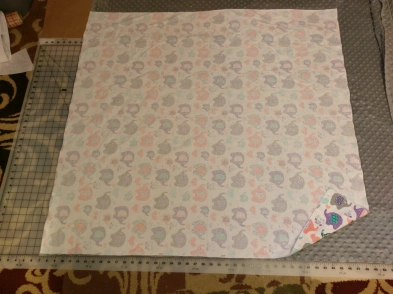
Cut around the flannel through the minky, following the dots as a guide if you think your flannel isn’t perfectly squared off, which can happen despite your best efforts!
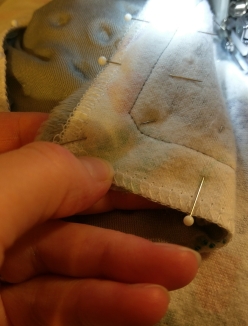
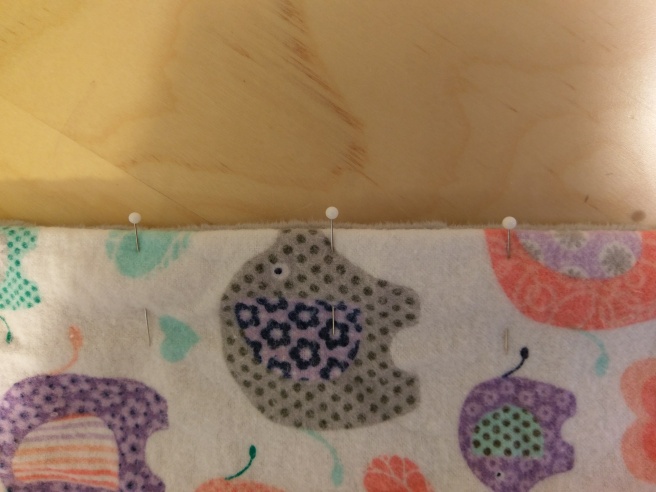
Next: pins, pins and more pins! I pin about every inch or so. You really can’t use too many pins. I like to start with the corners and middle of one side and divide each section in half with a pin, working my way out from the center halving the intervals as I go rather than starting at a corner and working my way straight up a side at 1″ intervals. For me, it keeps the side from bunching and stretching while I work.
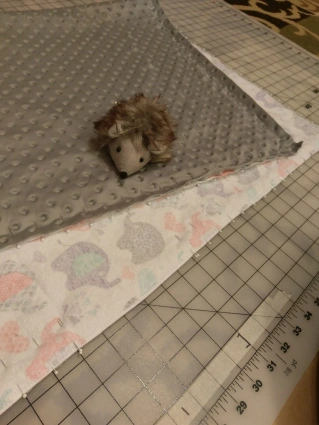
If you have to fold it over at any point while cutting or pinning to make it fit on your work space, be VERY careful not to introduce wrinkles between the layers. Don’t forget to leave a hole to turn it. I like to mark this with two pins so I don’t forget! 6″ was more than enough for this 40 x 40 blanket to fit through.
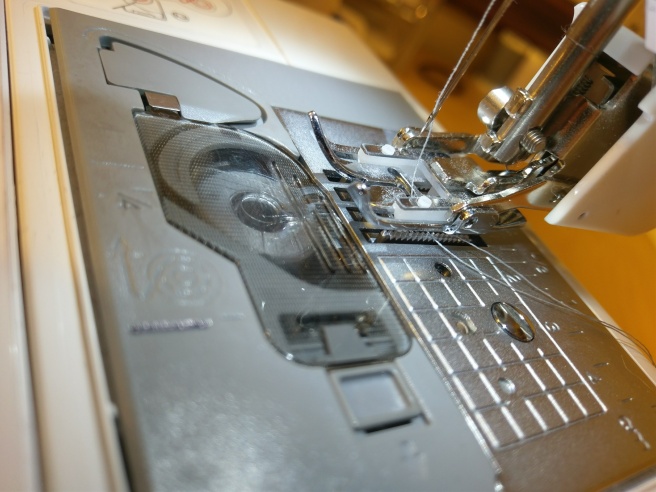
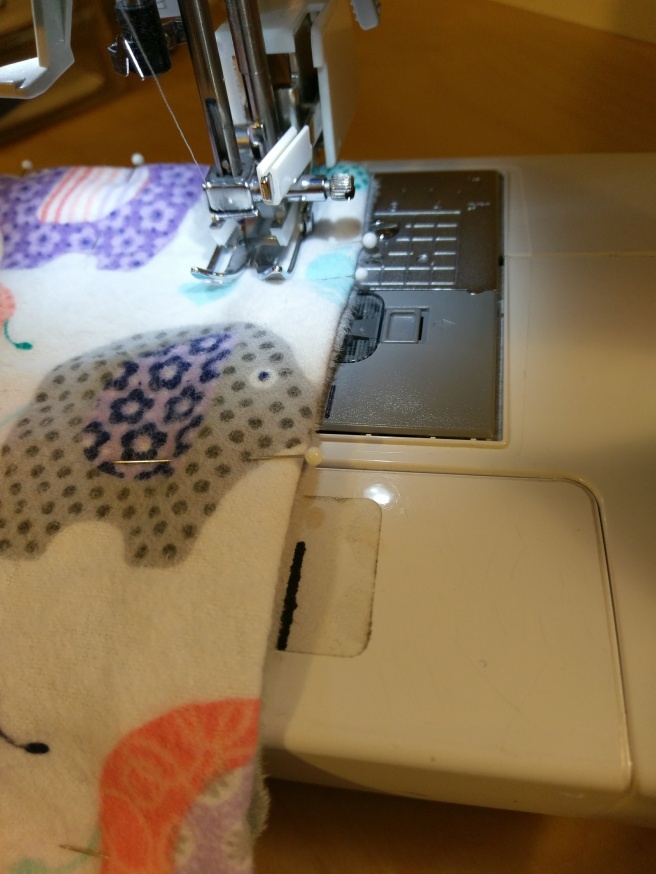
The next secret weapon is a walking foot. Here’s what it looks like if you’ve never used one. You will have to remove the ankle with your normal presser foot in order to attach it. The little lever sits on top of (or around, on some models) the bar that moves up and down while you sew. This drives a second set of feed dogs that interlock with your machine’s normal feed dogs. Instead of the bottom feed dogs gripping your fabric against the presser foot and sliding it backwards, the two sets of feed dogs grip from the top and the bottom and pick up and move the fabric without the sliding/pulling- this means that stretchy fabric will not be stretched out while sewing.
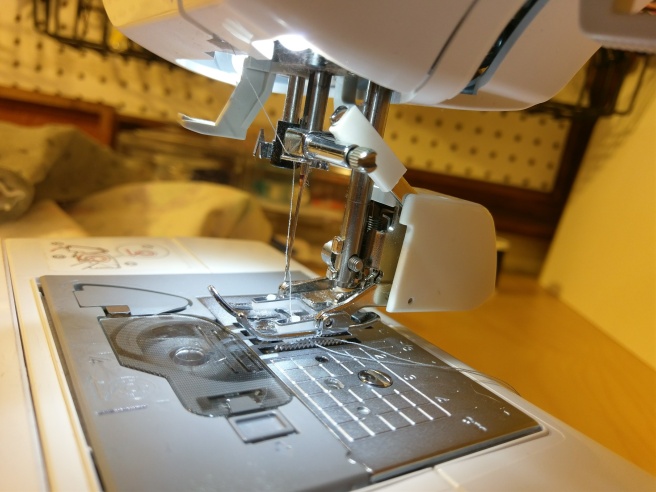
A closer look- you can see the second set of upper feed dogs in white plastic on my walking foot, positioned right over my machine’s lower feed dogs.
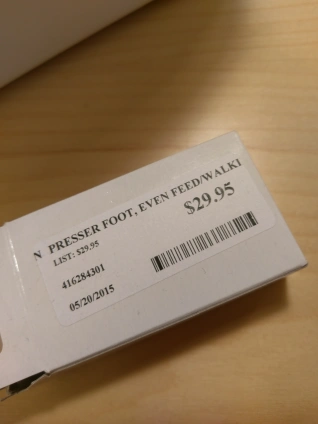
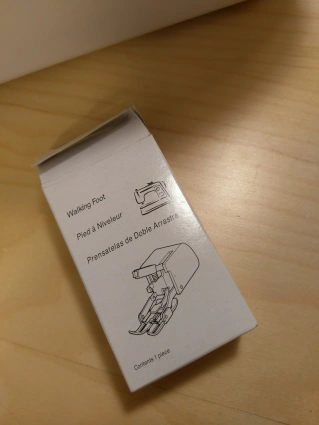
I highly recommend that you invest in a decent walking foot if you work with knits or minky with any frequency. You won’t regret it. My machine came with a walking foot, but it was poorly made, caught my fabric on a sharp piece of metal, and started malfunctioning after only a few uses. This (universal) one from the Husqvarna dealer at my local JoAnn has been a dream!
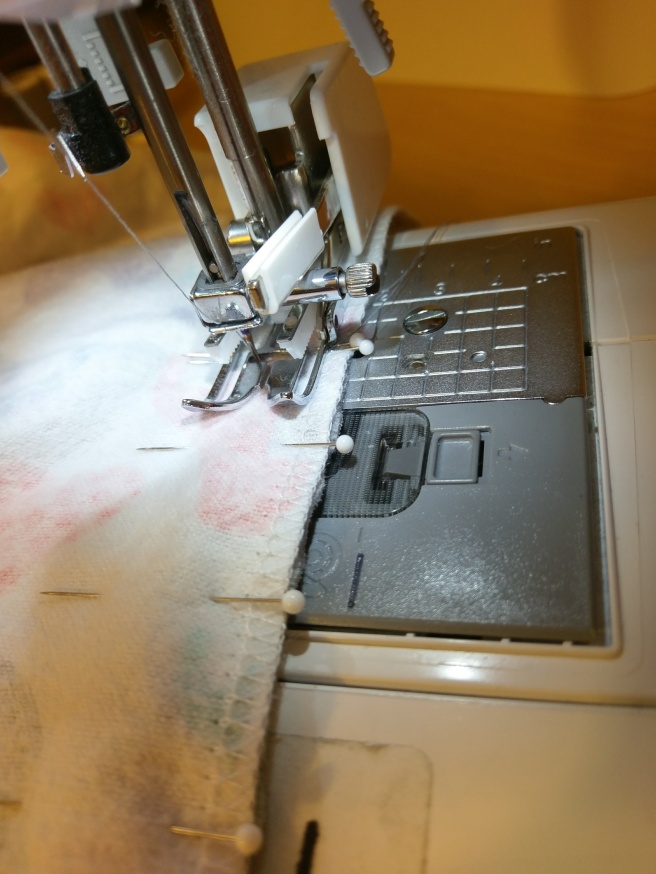
Sew the two sides together all the way around in one seam, starting at the opening you marked with two pins and stopping on the same side at the other end of the opening. I usually use a medium microtex needle, about an 80 or so. Here I used about 5/8″ seam allowances, but it really doesn’t matter as long as it is even. Before you pivot at the corners: see below for a trick for sharper corners.
Minky trick #3 (you can use this elsewhere, too): at the corners, add a couple of stitches on the diagonal right at the tip of the corner. It’s counter intuitive, but it makes sharp corners later on. Trust me.

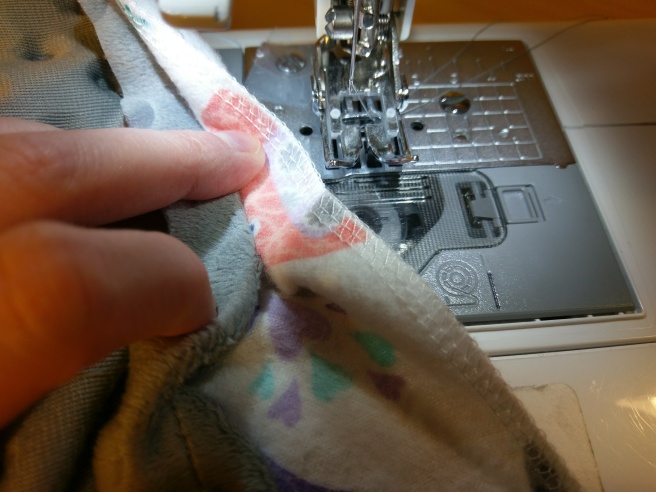
After finishing the main seam, if you want to make the slip-stitching easy on yourself, try this trick. It’s totally optional, but if your slip stitching gets as sloppy as mine, this really helps! Separate the layers and sew a guide-stitch through each layer separately. Make sure you use the same seam allowance that you just used on the rest of the blanket, and if your edges have become mis-aligned, then carefully account for this when you place your stitching in each separate layer.
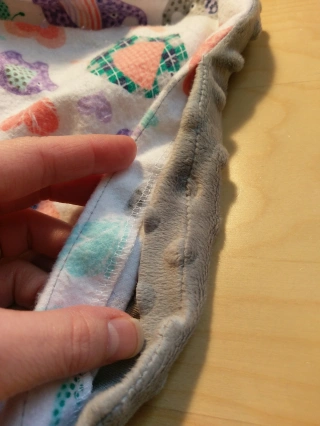
I’m separating the layers in the opening to start the flannel guide stitch- you can see the minky guide stitch on the left at the bottom of the photo. It doesn’t matter what order you do them in, but I have better photos of guide-stitching the flannel side:
Fold the top layer back from the attachment point to get good exposure of the free flannel in the opening. 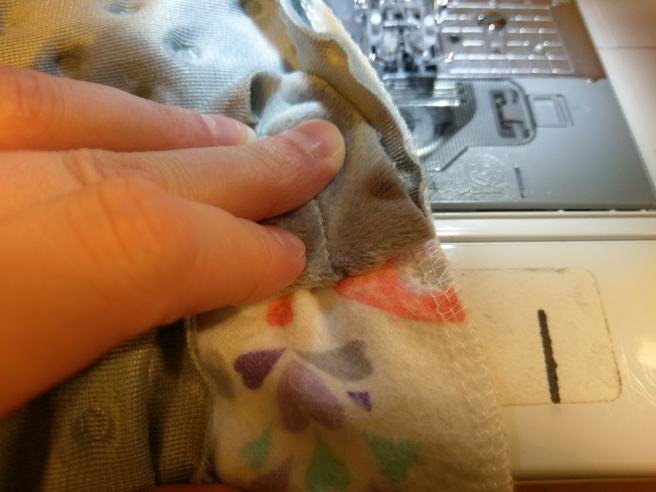
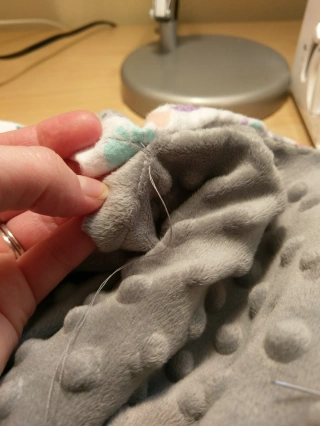
Place your needle as close to the point where the fabrics are joined, lining up your stitches with the previous seam, and sew through only one layer of fabric using the same amount of seam allowance. 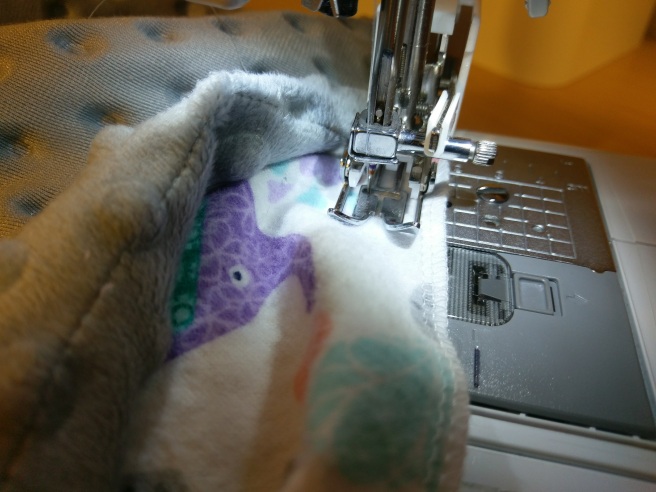
Stop short of your main seam, before you catch both layers of fabric, but your new stitching should line up with your previous seam almost exactly. 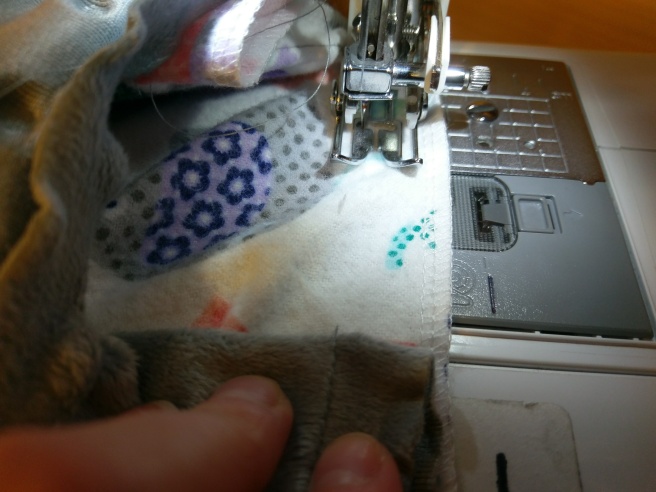
Repeat for the other side. You should end up with stitches in the opening, but not closing the opening, that you can use to align your slip stitches and keep them straight. 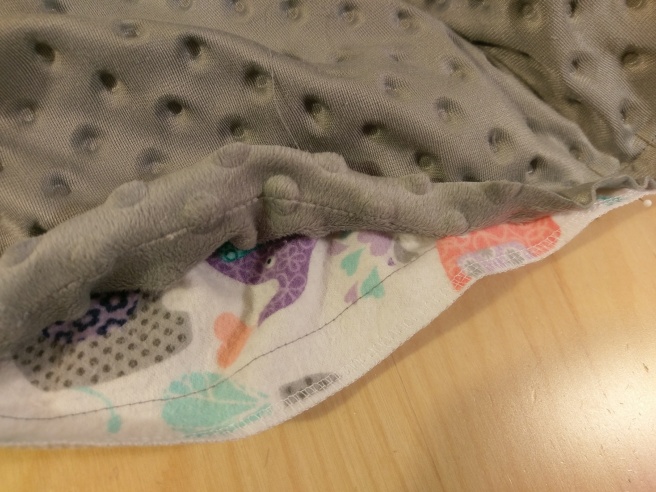
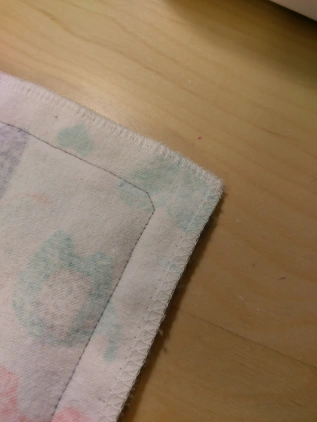
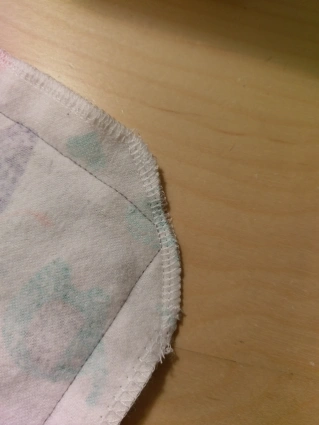
Now, back to those corners. You can either trim with scissors and zig-zag finish the free edge or, if you’re daring and you have good serging skills, you can just surge through the corner at an angle so that there is a very narrow margin between your seam and the serge, allowing the serger to cut away the excess.
Using the opening, turn the blanket right side out and gently turn the corners with something pointed. The blunted, trimmed corner magically becomes sharp! Voila!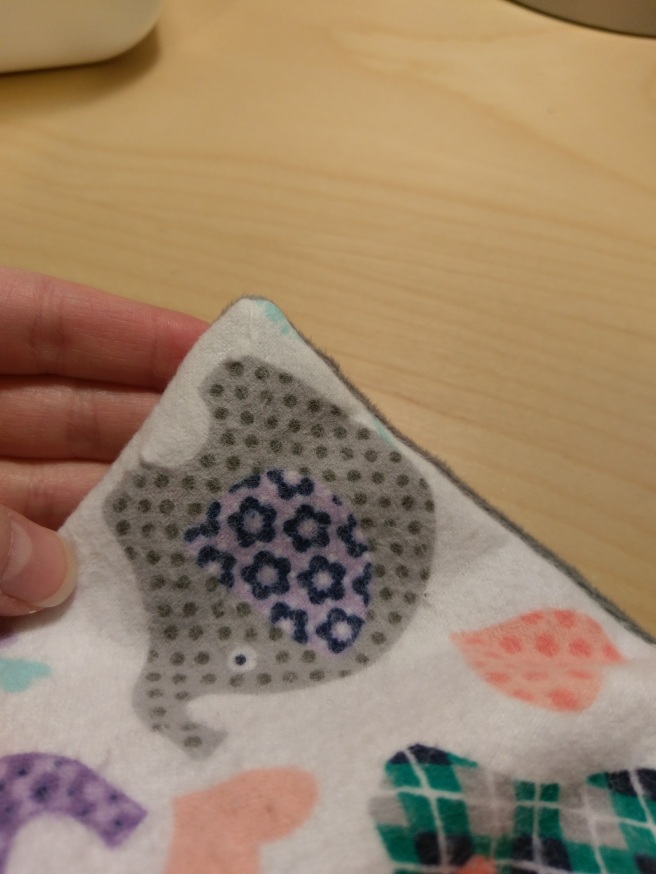
Now, fold in the edges of your opening and slip stitch that sucker closed. If you chose to add guide stitching, take your stitches slightly above your guide so that it remains tucked neatly inside your blanket. My slip-stitching improved 1000x the first time I did this. (On any other project, I might just iron a crease to follow, but since you can’t iron minky, this was my best solution!)
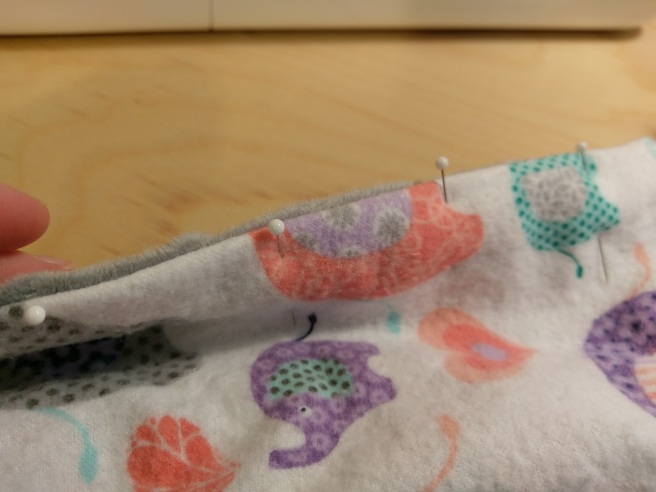
Now for the topstitch. I’m not completely happy with my topstitching, but it’s passable. I think I need to use heavier thread and a topstitching needle, but for now, I use the same thread and needle I use on the rest of the project. I chose a 1″ seam allowance/border, but I’ve done more in the past. It just depends on what you like. I find 1″ is easy to manage. Before you start, wiggle the layers of fabric into place at the edge so that the seam is right on the edge and there’s no excess fabric on one side or the other. Pin about 2″ apart to keep the fabric from sliding, and topstitch. For perfect corners, stop short of the next side and use a ruler to measure exactly where to pivot.
Tie off your threads and bury your tails in the border of the blanket and you’re done!
Now, go forth and create!
-J

Did you remove your pins or sew over them? New here!
LikeLike
Could you use just regular cotton fabric for the top? Just wondering. Looking at making one for my daughter’s baby. My first grandbaby!!!
LikeLike
Yes, but the stretch might be different from the stretchy minky fabric, so you’d have to pin carefully. A walking foot may help.
LikeLike
Would this work on a king size quilt without tying or quilting?
LikeLike
A quilt might require batting in the middle. But a Minky blanket can be made for a king size bed. You may notice big pockets of air unless you quilt the fabrics to each other.
LikeLike
So happy you posted about Minky fabric. I was afraid to tackle this fabric but now I am all in for all those babies coming in my family. Very helpful tutorial!! Good job!!
LikeLike
I’ve been making these since 2014 and give them as gifts for car blankets. I put lo loft batting in them and use spray basting between the minky and the batting. Then I top sti h about 3 1/2 in in instead if 1/4 in. Also they’re about 24” x 36”. My 9 & 10 yr old grandsons still use them in the car.
LikeLike
Thank you so much for this helpful post!!! I just learned also that using parchment paper to sandwich the layers of the minky is also a great help : )
LikeLike
Can you elaborate?!?!?!?!
LikeLike
Spray the fabric lightly with water for no slip sewing.
LikeLike
Bonjour
ah enfin un tuto avec toutes les explications qu’il faut
je vais pouvoir me lancer merci milles fois
car sa fait quelques jours que je cherche un bon tuto
LikeLike
I buy my self healing cutting Matt’s from blick.com in the past they have had good prices.
LikeLike
Thank you for the tutorial, may I ask where you found your extra large cutting mat. I’ve been looking for one all over, even online, but the largest I can find is an 18 x 24”. I’m in Canada
LikeLike
In USA I found mine at Joann Fabrics
LikeLike
Very nice and very very well explained
LikeLike
Very new to sewing, sorry for the dumb question but the opening- when you topstitch isn’t there a opening still to the blanket? or how do you get it completely closed?
LikeLike
She slip-stitched that opening closed after turning the blankie right-side out. It’s the paragraph that starts with “Now, fold in the edges of your opening and slip stitch that sucker closed.” But certainly not a dumb question!
LikeLike
Slip-stitching is by hand
LikeLike
Do you have a link to the cutting mat please?
LikeLike
If you don’t have a serger would zigzagging the edges of the fabric work? Or should I just try it with just the ct fabric?
LikeLike
I would use a pinking shears. FYI They prevent raveling, but have thicker blades, making it more difficult to cut straight.
LikeLike
Great tutorial. Considering the shrinkage and your 40” size, how much flannel and Minky did you buy?
LikeLike
This is the best tutorial I’ve ever read through. You answered all my questions before I even asked them. Think I’ll try a throw for across our bed on cool summer nights. I love the feel of minky. Great job.
LikeLike
I made two quilts using Minnie fabric as backing and quilted them. It worked like a dream. The stiches disappeared. They turned out really nice.
LikeLike
I haven’t tried quilting yet, but I’m so glad it worked out well! Thanks for sharing!
LikeLike
My blanket was a success. This is my second baby blanket and first time working w minky. Thank you for the tutorial.
LikeLike
Thank you so much. I just bought minky to make a baby blanket and am a bit terrified of it. I appreciate your tutorial. One thing you didn’t mention was did you sew the minky edges before you washed it? I’m concerned about all the fluff.
LikeLike
There is a small amount of fluff released by cutting the minky, but it doesn’t unravel so washing it should not create any more. Don’t be scared- even if you don’t like the result, you can learn from the experience and there’s always more fabric at the store (or in our stashes!) to try again!
LikeLike
Hello, I am looking for someone to make a minky baby blanket for me. I can send all the details. My name is Jamie My email is: jamieolson86@gamil.com
LikeLike
I suggest Etsy for custom minky blankets! Good luck!
LikeLike
Thank you for all the fine details. I’ve made many blankets in the past (quilting, rag quilts too) but it has been some time and I always like to refresh. Ready to start mine now!
LikeLike
This is great thank you
LikeLike
Thank you so much for making this tutorial! It was so well-written and the pictures helped as well. I learned a few new skills including using a walking foot and slip-stitching. I was able to make two beautiful baby blankets for friends using your tutorial.
LikeLike
I’m so glad you enjoyed the tutorial and were able to create your own blankets!
LikeLike
You didnt say to stitch the flannel first. I noticed it is edged/stitched.
LikeLike
Where did you get that llama fabric? I am obsessed!
LikeLike
Llamas are so popular these days, but I usually get my fabrics from JoAnn because it’s what is easiest for me.
LikeLike
Excellent tutorial. I feel very confident with following your instructions thank you 😊
LikeLike
Did you use a purchased receiving blanket to back the minki ?
LikeLike
Nope- just a cut of cotton flannel from JoAnn, although that could work as well!
LikeLike
Love the hedgehog pin cushion. Did you make or purchase the pin cushion. Great tutorial!
LikeLike
Isn’t he adorable?! I found him hiding in a clearance aisle at the fabric store and decided he belonged with me!
LikeLike
Thank you for the tutorial lots of great tips I’ve yet to try sewing minky but am going to soon.
LikeLike
Best tutorial ever! The photos very helpful.
LikeLike
awesome!
LikeLike
I find that sewing a 1/2 to 1″ X randomly through both layers after it is complete is enough to hold the minky in place for washing . It isn’t necessary, but does make folding a bit simplerf. Use matching thread for this process, both top and bottom.
LikeLike
thank you for the tutorial
LikeLike
I’d like to somehow incorporate some stitching “within” the quilt. I was thinking about measuring in “x” amount of inches from the edges, sewing that, then from the new stitching, I’d again measure in “x” amount of inches, sewing that. If you can think of any other “simple” ways of sewing within the quilt, I’d appreciate it! Thank you! PS, I’d of course make sure I not sew through the minky dots :>)
LikeLike
If you plan to “quilt” the minky & flannel to keep it together, I’d suggest doing that first, then bind the edges. When “quilting” the lines, the fabirc can easily stretch. If your edges are already sewn fixed, you may end up with bulky “bubbles” along the edges. I’ve seen people layer the flannel on the minky, keeping the minky at least 2″-3″ wider on all sides. Once they have quilted it, they bring the minky edges to the front and use it as a binder, or the square it up and use a different binding. You can sew between the dots using them as a guideline, although you would want to have the minky on top so the flannel would be larger. I recommend sewing criss cross lines and alternating the direction of sewing to minimize the stretch and use LOTS of pins.
LikeLike
It sounds like you’re thinking of tacking the two layers together. If I decided to try this, I would make sure the layers are perfectly flat first, then pin where I wanted my tacks to go and add them by hand. Good luck!
LikeLike
Lovely tutorial, easy enough for anyone to follow. Thanks for sharing.
LikeLike
Great tutorial. Very easy to understand and I really like the idea of serging the flannel as well as the corners. Also I have always encountered difficulty with the slip stitching, especially with both top and bottom being minky. Brilliant idea to stitch a guide on each layer. Thanks so much for taking the time to do this tutorial!
LikeLike
I’m so happy you enjoyed it!
LikeLike
Thank you ! Cant wait to try, have 2 new grandkids coming in a few months. Have made 2 blankets with minky, but am sure they didn’t look as nice as yours. Thanks again
LikeLike
Super tutorial. Really enjoyed it and I am about to make lots and lots of goodies for my best friend Catherine’s pregnant daughter. Can’t wait to begin😁
LikeLike
This is a very nice tutorial. Thanks for posting!
LikeLike